Riso, the perfect imperfection
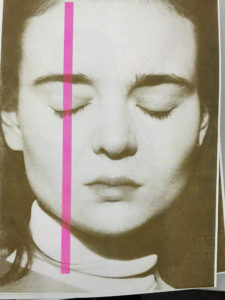
I’m absolutely fascinated by riso printing. In this blog I would like to share this fascination with you. In Riso one can print on a wide range of papers, the rougher the better and print with a range of beautiful and defining colours and finally not one print will ever be the same, in a very elegant way. A Riso print has a complete autonomous feel, is suited for making small editions and is quite affordable.
A bit of history
It is called Riso prints by the Japanese manufacturer of the machine. The technique is based on mimeographing or stenciling that was popular before the photocopiers came into being.

 To make a stencil print run one had to produce a paper master that had series of minute holes punctuated in them to form the image of what was going to be printed. Ink was forced through those holes and transferred on the paper. A Riso printer works exactly the same. Only now you can create your master from a file on your computer or by scanning the original.
How the Riso printer functions
Inside the printer you insert a drum containing the colour of your choice. Many printers come in a configuration capable of holding two drums at a time. It also has a unit that is loaded with the master foil, which is made of fully bio degradable plastics. Once you send a file to make your master, the holes will be punctuated by the printer in the foil and the now created master will be mounted on the colour drum. Now the printer is ready to print as many copies you like from that master in the colour of your choice.
All kinds of printing
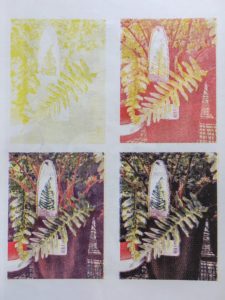
Which brings us on a distinct feature of Riso printing. For each colour you want to print you need a separate master. Meaning you have to construct separate layers for each colour in an image. So it is more close to Offset printing or silk screen printing then to inkjet printing.
Another feature of Riso printing that makes it more familiar with Offset then inkjet printing, is that it doesn’t print in continuous tone. It’s a pure graphical technique where you have dots or lines of ink or nothing. So to create the illusion of different shades of colour you have to apply screens, creating a pattern of dots in various sizes linearly structured that will disperse the ink across the surface of your paper.
Being your own printer
So it works like a little printing press, enabling you to produce printed matter in editions. You can choose from a wide variety of rich ink colours. The colour palette is very distinct  Some of them are absolutely impossible to make with regular Offset inks. Only thing you can’t make is a regular full colour reproduction of an image. There is no regular set of CMYK-inks. But hey, if you’re in for a straight forward CMYK reproduction, there are other techniques to achieve that.
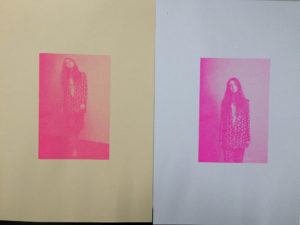
Another peculiarity is that there is no register for the paper feed throughout the machine. So papers only roughly pass the drums with the same alignment. That explains why not one print is exactly alike. As far as I’m concerned one of the charms of this machine.
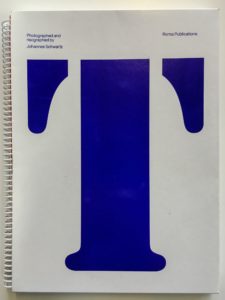
I have many books on my shelves printed in Riso, or based on Riso. Some all-out printed on that machine, some with combinations of Riso and Offset printing. And some for which the originals have been printed in Riso, selecting only the best prints of a small edition, which have been reproduced in regular offset.
I introduced the technique to my first year photography students at the Royal Academy of Art and had them make a small publication with it. They had a ball with it and came up with beautiful results and most of all were fascinated that they now had the means to produce their own booklets.
